Pumpkin carving is a beloved autumn tradition that brings families and communities together. While traditional carving methods often involve kitchen knives and a bit of daring, pumpkin carving kits have emerged as a safer and more convenient option, especially for families with children. In this comprehensive guide, we will delve into the world of pumpkin carving kits, exploring everything from the essential tools and techniques to design inspiration and safety tips.

Understanding Pumpkin Carving Kits
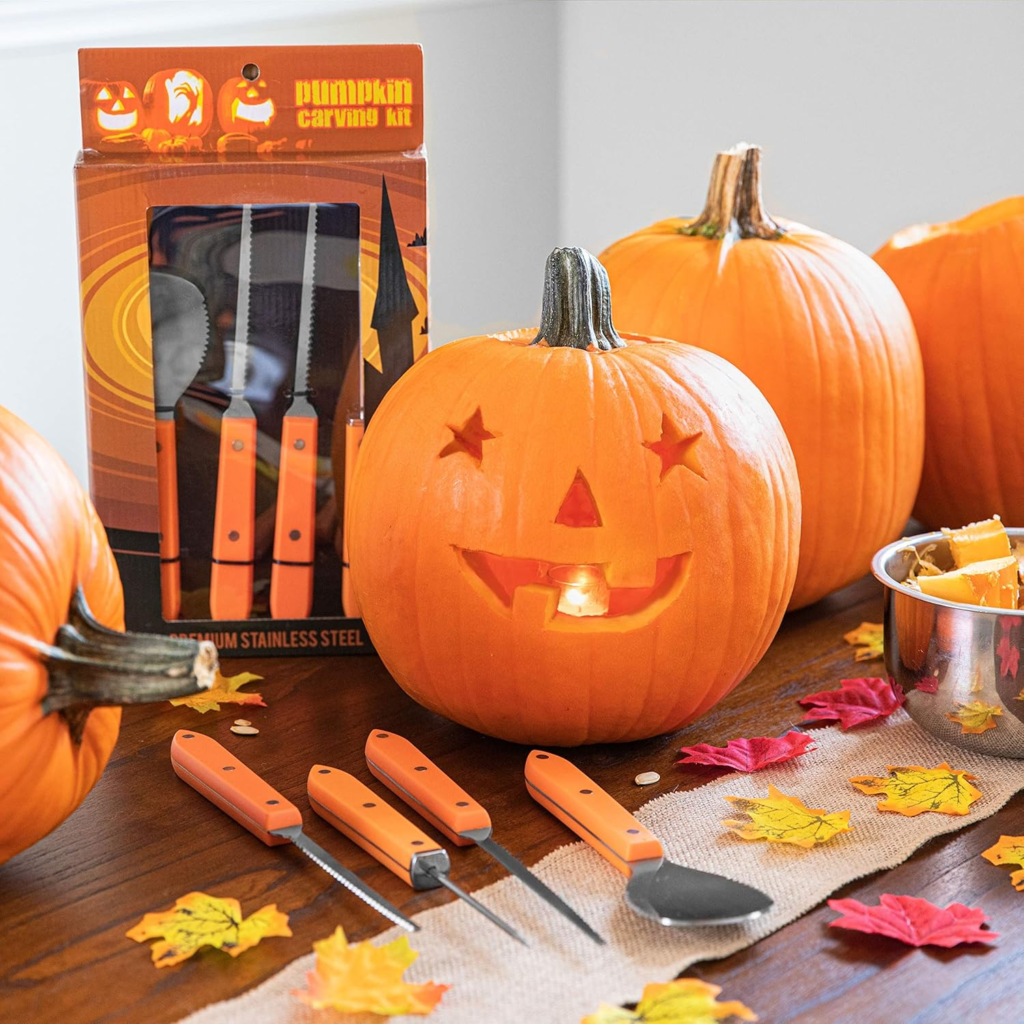
A pumpkin carving kit typically includes a variety of tools designed to make the carving process easier and safer. These tools can range from basic saws and scoops to more intricate detail tools. Some kits also include stencils, patterns, and even LED lights to enhance your final creation.
Key Components of a Pumpkin Carving Kit:
- Saws: Used for cutting through the pumpkin’s outer skin.
- Scoops: For removing the pumpkin’s flesh and seeds.
- Detail Tools: For creating intricate designs and shapes.
- Stencils or Patterns: To guide your carving.
- LED Lights: To illuminate your carved pumpkin.
Choosing the Right Pumpkin Carving Kit
With a plethora of pumpkin carving kits available, selecting the perfect one can be overwhelming. Consider the following factors when making your choice:
- Skill Level: If you’re a beginner, a kit with basic tools and simple patterns is ideal. For experienced carvers, a kit with a wider range of tools and intricate designs might be more suitable.
- Age of Carvers: Safety is paramount, especially when carving with children. Opt for kits with blunt-tipped tools and easy-to-use designs.
- Desired Design Complexity: If you envision a simple jack-o’-lantern, a basic kit will suffice. For elaborate designs, a kit with more detail tools is necessary.
- Budget: Pumpkin carving kits vary in price, so consider your budget when making a selection.
Essential Pumpkin Carving Tools and Techniques
While pumpkin carving kits provide a convenient starting point, understanding the basic tools and techniques can enhance your carving experience.
Basic Tools:
- Saw: Used for cutting through the pumpkin’s skin.
- Scoop: For removing the pumpkin’s flesh and seeds.
- Detail Tools: For creating intricate designs.
- Marker or Pencil: For transferring patterns onto the pumpkin.
Carving Techniques:
Planning Your Design: Choose a design that suits your skill level and the size of your pumpkin.
Transferring the Design: Use a marker or pencil to transfer the design onto the pumpkin.
Cutting the Lid: Carefully cut a lid from the top of the pumpkin.
Removing the Pulp: Scoop out the pumpkin’s flesh and seeds.
Carving the Design: Begin with the larger cuts and gradually work your way to the smaller details.
Cleaning Up: Remove any loose pumpkin pieces and smooth the edges.
Adding Finishing Touches: Consider adding LED lights, glitter, or paint to enhance your creation.
Pumpkin Carving Design Ideas
The possibilities for pumpkin carving designs are endless.
- Classic Jack-o’-Lantern: A timeless and iconic choice.
- Spooky and Scary: Create a frightening atmosphere with ghouls, ghosts, and other creepy creatures.
- Cute and Adorable: Opt for friendly characters like owls, cats, or pumpkins with faces.
- Intricate and Detailed: Challenge yourself with complex designs featuring landscapes, portraits, or geometric patterns.
- Pop Culture Themes: Bring your favorite movies, TV shows, or video games to life on your pumpkin.
Safety Tips for Pumpkin Carving
Pumpkin carving can be a fun activity for the whole family, but safety should always be a top priority. Follow these tips to prevent accidents:
- Use sharp tools with caution.
- Supervise children closely.
- Carve on a stable surface.
- Wear protective gloves if desired.
- Avoid carving too close to the pumpkin’s stem or bottom.
Preserving Your Carved Pumpkin
To extend the life of your carved pumpkin, consider the following tips:
- Place your pumpkin in a cool, dry location.
- Spray with a pumpkin preservative.
- Use LED lights instead of candles.
- Consider refrigerating your pumpkin at night.
Pumpkin Carving Kits: A Fun and Creative Activity
Pumpkin carving kits offer a convenient and enjoyable way to create stunning Halloween decorations. By following these guidelines and unleashing your creativity, you can craft unforgettable pumpkin masterpieces that will be the envy of your neighborhood.
FAQ’S
What is a Pumpkin Carving Kit?
A pumpkin carving kit is a collection of tools designed to help you transform a plain pumpkin into a spooky or fun jack-o’-lantern. These kits typically include items like a saw, scooper, and various carving tools. They’re perfect for Halloween enthusiasts of all ages and skill levels.
What’s in a Typical Pumpkin Carving Kit?
Most pumpkin carving kits contain the following essential tools:
- Saw: Used to cut a lid for your pumpkin.
- Scooper: For removing the pumpkin’s insides (seeds and pulp).
- Carving tools: These can vary but usually include different shaped blades for cutting out designs.
- Templates: Some kits come with pre-made designs to trace.
- LED lights: To illuminate your finished jack-o’-lantern.
How to Choose the Right Pumpkin Carving Kit?
When selecting a pumpkin carving kit, consider the following:
- Skill level: If you’re a beginner, a kit with simple templates might be best.
- Desired design complexity: If you want to create intricate designs, look for a kit with a variety of carving tools.
- Safety features: Opt for kits with tools that have safety features, like blunt tips or rubber grips.
- Additional features: Some kits include LED lights, stencils, or even glue for decorative purposes.
How to Use a Pumpkin Carving Kit Safely?
Pumpkin carving can be fun, but it’s important to prioritize safety:
- Adult supervision: Children should always be supervised by an adult when using carving tools.
- Sharp tools: Handle carving tools with care.
- Cutting surface: Use a stable cutting surface to prevent accidents.
- First aid: Have a first aid kit ready in case of minor cuts.
How to Carve a Pumpkin with a Kit?
Here’s a basic guide to pumpkin carving:
- Choose your pumpkin: Select a pumpkin with a flat bottom for stability.
- Create a lid: Use the saw to cut a lid around the pumpkin’s stem.
- Scoop out the insides: Remove the seeds and pulp using the scooper.
- Create your design: Draw your desired design on the pumpkin or use a template.
- Carve the design: Carefully use the carving tools to cut out your design.
- Add lights: Place an LED light inside the pumpkin for a spooky glow.
How Long Does a Carved Pumpkin Last?
The lifespan of a carved pumpkin depends on several factors, including weather conditions, pumpkin quality, and how it’s stored. Generally, a carved pumpkin can last anywhere from a few days to a week.
How to Preserve a Carved Pumpkin?
To extend the life of your carved pumpkin:
- Keep it cool: Place it in a cool, dry place.
- Spray with a preservative: There are commercial pumpkin preservatives available.
- Use a pumpkin-carving sealant: This can help protect the pumpkin’s surface.
Can I Reuse a Pumpkin Carving Kit?
Absolutely! Pumpkin carving kits are reusable. Just make sure to clean the tools thoroughly after each use.
Where Can I Buy a Pumpkin Carving Kit?
Pumpkin carving kits are widely available at:
- Craft stores
- Grocery stores
- Online retailers
Do Pumpkin Carving Kits Come with Ideas?
Many kits include templates or design ideas to get you started. You can also find countless inspiration online.
Are Pumpkin Carving Kits Safe for Kids?
While pumpkin carving can be a fun family activity, it’s essential to supervise children closely. Look for kits with blunt-tipped tools or consider using kid-friendly alternatives like paint or markers.
To read more, Click here