Karahatag Shrine- The vast Gerudo Desert in the latest Legend of Zelda: Tears of the Kingdom holds many secrets, and one of them is the enigmatic Karahatag Shrine. Nestled within the Southern Oasis, this shrine tests your wit and mastery of the Sheikah Slate’s newest runes – Ultrahand and Recall. This guide will equip you with all the knowledge you need to navigate the Karahatag Shrine, solve its fiery puzzles, and claim your well-deserved reward.
Locating the Karahatag Shrine
The Karahatag Shrine can be found southwest of the Gerudo Canyon Skyview Tower, specifically within the Southern Oasis region of the Gerudo Desert. Look for a small, elevated plateau amidst the oasis. Climbing this ledge will reveal the entrance to the shrine itself. Here are the exact coordinates to pinpoint its location on your map: -3728, -3625, 0043.
Reaching the Southern Oasis might be a challenge depending on your progress in the game. The Gerudo Desert is notorious for its harsh climate, with scorching heat during the day and frigid nights. Make sure you have the appropriate gear to withstand the elements – heat-resistant clothing for daytime travel and cold-resistant gear for nighttime exploration. Alternatively, you can utilize campfires or strategically placed shade to manage the temperature fluctuations.
Unveiling the Drifting Flame Challenge
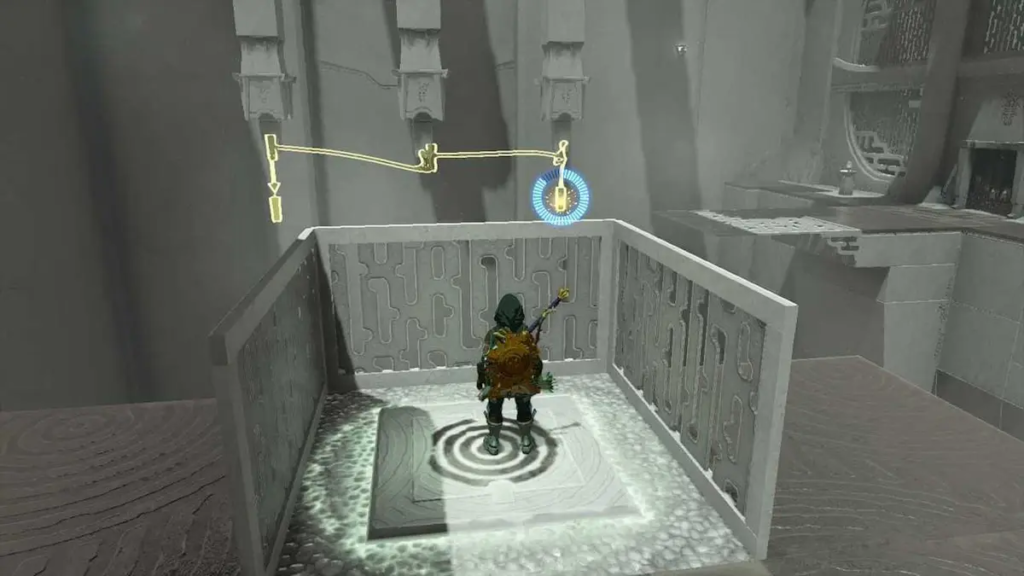
As you step inside the Karahatag Shrine, the name “Drifting Flame” emerges, hinting at the core mechanic of the puzzles you’ll encounter. The shrine’s interior is a chamber with a single, permanently lit torch stationed near the entrance. The key to solving these puzzles lies in manipulating flames and strategically using the Ultrahand and Recall runes.
Puzzle 1: Illuminating the Path
- Torch Relay: Your first task is to use the Ultrahand rune to pick up the permanently lit torch. Navigate to the unlit torch stand located at the top left corner of the room. Light this torch stand with the one you’re holding, creating a path forward.
- Secret Chest: With the path illuminated, you’ll notice a hidden alcove to the left. Carefully jump down to this platform and use the sand against the wall to climb back up, revealing a hidden chest containing valuable treasure.
Puzzle 2: The Trial of Shifting Flames
- Pressure Plate and Moving Torches: In the centre of the room, you’ll find a pressure plate. Stepping on this plate activates three retractable torch stands positioned high on the walls. However, these flames are elusive and retract after a short delay.
- Strategic Lifting: The key here lies in using the Ultrahand rune to grab a metal block located near the pressure plate. Lift this block to a medium height, allowing it to briefly block the descent of one of the flames as it retracts.
- Swift Recall: While the metal block holds the flame in place, use the Recall rune to teleport yourself next to the torch stand. Quickly position the metal block beneath the newly descended flame, effectively trapping it. Repeat this process for the remaining two flames, creating a ring of fire around the central platform.
- Fiery Revelation: With all three flames secured, the centre platform lowers, revealing the exit from the shrine and granting you access to the monk and your reward.
Tips and Tricks for Conquering the Karahatag Shrine
- Master the Runes: This shrine heavily relies on the Ultrahand and Recall runes. Ensure you’re comfortable using them for precise object manipulation and teleportation. Practice using these runes in the overworld before entering the shrine if necessary.
- Timing is Crucial: The key to Puzzle 2 lies in swift execution. Be prepared to act quickly once you activate the pressure plate to capture the flames before they retract.
- Experimentation is Key: Don’t be afraid to experiment with different approaches. The shrine allows for some creative problem-solving, so if your initial strategy isn’t working, try a different approach. There’s no single “correct” way to solve the puzzles, so find what works best for you.
- Explore the Oasis: While exploring the Southern Oasis to find the shrine, keep an eye out for Korok seeds, hidden chests, and other secrets the desert might hold.
Rewards of the Karahatag Shrine
Once you’ve successfully navigated the fiery challenges of the Karahatag Shrine, you’ll be presented with a reward. This typically consists of a Spirit Orb, a crucial item for upgrading your health or stamina in the game.
FAQs
Q. Where is the Karahatag Shrine located?
- The shrine resides in the Southern Oasis within the Gerudo Desert region. You can find it south of Gerudo Town or east of the Lightning Temple.
Q. I’m lost! Can you give me the coordinates?
- Sure thing! The exact coordinates for the Karahatag Shrine are (-3726, -3625, 0043).
Q. What should I pack for my desert adventure?
- Be prepared for the harsh Gerudo Desert climate. Pack cold-resistant clothing for nighttime and heat-resistant gear for daytime exploration.
Q. What are the Sheikah Slate runes needed for the shrine?
- This shrine heavily relies on the Ultrahand and Recall runes to solve its environmental puzzles.
Q. How do I solve the Karahatag Shrine puzzles?
- The core mechanic involves using the Ultrahand to grab torches, light them, and strategically place them to activate mechanisms and open pathways. The Recall rune comes in handy for retrieving torches from tricky positions.
Q. Are there any hidden chests in the shrine?
- You bet! Keep an eye out for a secret chest you can snag during the puzzle where you need to jump and glide. Utilize the sand to climb back up and reach the hidden alcove.
Q. What reward awaits me after completing the shrine?
- Once you conquer the Drifting Flame, you’ll be rewarded with a valuable Spirit Orb to enhance your power.
By understanding the shrine’s location, puzzles, and potential rewards, you’ll be well-equipped to navigate the Karahatag Shrine and emerge victorious. Don’t hesitate to consult online guides for a more visual walkthrough if needed. Good luck with your desert adventure!
To read more, Click here