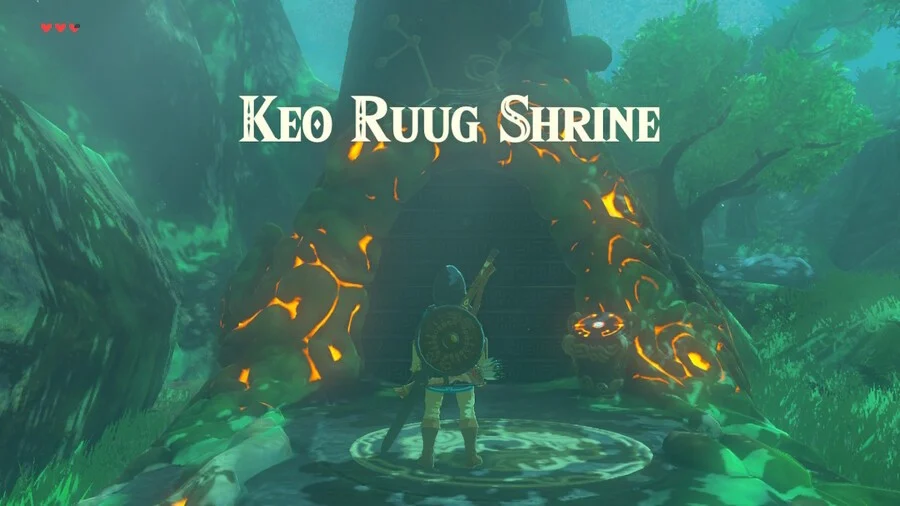
Keo Ruug Shrine, Nestled within the heart of the enchanting Korok Forest in Breath of the Wild lies the Keo Ruug Shrine. This unassuming structure holds a trial that tests Link’s observational skills and ability to decipher cryptic messages. But fear not, adventurers! This guide will equip you with all the knowledge you need to navigate the Keo Ruug Shrine and claim your prize: a coveted Spirit Orb.
Locating the Elusive Shrine
The Keo Ruug Shrine can be found shrouded in the vibrant foliage of the Korok Forest, which itself resides within the sprawling Great Hyrule Forest region. However, reaching this sacred ground requires traversing the treacherous Lost Woods. This enigmatic maze can disorient even the most seasoned explorers. Here’s where following the windblown embers from strategically placed lanterns becomes crucial. Let the gentle breeze be your compass, guiding you through the twisting paths until you emerge into the sun-dappled embrace of Korok Forest.
Upon entering the forest, the Keo Ruug Shrine might not be immediately apparent. Don’t fret, for the Sheikah Sensor, a handy tool in your Sheikah Slate arsenal, can be used to pinpoint its location. This technological marvel emits a pulsating blue light when in proximity to Shrines, making it an invaluable asset in your quest.
Unveiling the Fateful Stars Trial
Once you’ve located the Keo Ruug Shrine, step inside and prepare to face the challenge that awaits. As you set foot within the chamber, an inscription adorns the stairs above, proclaiming: “Look to the stars for guidance. The constellations are the key.” This cryptic message serves as the cornerstone of the trial – the “Fateful Stars.”
Gazing ahead, you’ll find the far wall adorned with various constellations. These celestial patterns are mirrored on either side of the chamber, flanking rows of empty sphere receptacles. Here’s where your keen eye for detail comes into play. The key to solving the trial lies in deciphering the connection between the constellations and the number of spheres required for each receptacle.
Decoding the Celestial Code
Let’s delve deeper into the logic behind the constellations and how they translate to the number of spheres needed. Examine the constellations on the wall opposite the entrance. Each unique constellation corresponds to a specific number of spheres that must be placed in the corresponding receptacle on either side of the chamber.
For instance, if a constellation resembles an upside-down “L” shape, meticulously count how many individual stars form this pattern. The number you arrive at dictates how many spheres need to be placed in the receptacle directly below that particular constellation, on both the left and right sides.
Carefully analyze each constellation, meticulously counting the celestial bodies that form their unique patterns. Remember, consistency is vital. The same number of spheres must be placed in the corresponding receptacles on both sides of the chamber for each constellation.
A Helping Hand from the Community
If you find yourself stuck deciphering a particularly complex constellation, fret not! The vast Breath of the Wild community thrives on collaboration. Numerous online resources, including video walkthroughs [YouTube], can offer visual aids that depict the constellations and their corresponding sphere placements.
These walkthroughs can provide invaluable assistance, especially for those who prefer a more illustrative approach to puzzle-solving. Don’t hesitate to leverage the collective knowledge of the community to conquer this celestial challenge.
Plundering the Spoils: Chests and a Spirit Orb
Once you’ve successfully deciphered the constellations and placed the correct number of spheres in their designated receptacles, a delightful chime will resonate throughout the chamber. This signifies that you have triumphed over the Fateful Stars trial!
As a reward for your keen observation skills, a chest will materialize in the center of the room. Eagerly open it to claim your prize, which could be anything from valuable weapons and bows to rupees, the in-game currency.
But the true reward awaits you beyond the confines of the Keo Ruug Shrine. As you exit the chamber, the Sheikah Monk Keo Ruug will appear, acknowledging your accomplishment. He will then bestow upon you a coveted Spirit Orb, a crucial element for enhancing your Sheikah Slate’s abilities.
Beyond the Shrine: Exploring the Korok Forest
Having conquered the Keo Ruug Shrine, take a moment to bask in the beauty of the Korok Forest. This vibrant area is teeming with Koroks, a whimsical race of diminutive forest spirits. Keep an eye out for hidden Koroks throughout the forest – they often disguise themselves as objects within the environment.
Finding these playful creatures is an additional challenge in itself, and each discovery rewards you with a Korok Seed. These seeds can be exchanged with Hestu, a giant Korok elder who resides in the forest, for inventory expansion. By collecting enough Korok Seeds, you can increase your carrying capacity for weapons,
FAQ’S
Where is the Keo Ruug Shrine?
You’ll find this shrine nestled within the Korok Forest, which is part of the Great Hyrule Forest. Finding the Korok Forest itself requires navigating the Lost Woods, a tricky maze. Use the wind’s direction on the torches to guide you!
What’s the deal with all those spheres?
Those are the key to solving the shrine’s puzzle! There are multiple sphere receptacles on both sides of the main room. You’ll need to figure out where each sphere belongs.
Okay, but how do I figure that out?
Look up! The inscription above the stairs says it all: “Look to the stars for guidance. The constellations are the key.” On the wall opposite the entrance, you’ll see constellations that match symbols on the columns next to the sphere holders.
What do the torches next to the sphere holders mean?
Each row of sphere holders has one to five torches. These represent the number of spheres that belong in that row according to the constellation clue.
Is there a trick to solving the constellation puzzle?
Absolutely! Match the shapes in the constellations to the sphere holders. For example, if a constellation has three triangles, then place three spheres in the row with three torches.
What happens after I solve the puzzle?
The platform in the center of the room will rise, granting you access to the chest containing a valuable treasure. You’ll also activate the altar, summoning the monk and receiving a Spirit Orb.
Are there any chests hidden in the shrine?
You bet! The one you get access to by solving the puzzle contains a decent weapon or gear. Keep an eye out for hidden corners; some players report finding Korok seeds in this shrine too.
I’m stuck! Any tips for completing the Keo Ruug Shrine?
Don’t get discouraged! If you’re having trouble deciphering the constellations, take a picture with the Sheikah Slate to examine it in detail. Remember, the number of torches corresponds to the number of spheres needed in that row.
Can I find a video walkthrough of the Keo Ruug Shrine?
Of course! There are many helpful walkthroughs available online [YouTube]. Watching someone solve the puzzle can give you a visual understanding of the steps involved.
Is the Keo Ruug Shrine difficult?
The shrine自体は (jibun jishin wa, itself) isn’t particularly challenging once you understand the logic behind the puzzle. The main hurdle might be navigating the Lost Woods to reach the Korok Forest.
To read more, Click here