Baldur’s Gate 3 throws you headfirst into a harrowing situation: a captured mind, a parasitic threat, and an uncertain path to freedom. This sprawling RPG offers a wealth of choices, companions to recruit, and quests to complete. Whether you’re a seasoned adventurer or a Baldur’s Gate newbie, this walkthrough will equip you with the knowledge to navigate the early acts and make those crucial decisions.
Act 1: Freedom Beckons
Your adventure begins on the crashed nautiloid, a mind flayer vessel. After a dramatic escape, you’ll find yourself in the wreckage alongside a potential companion, Lae’zel. Here’s how to tackle your initial objectives:
Find Shelter: Head south towards the flickering campfire. Here you’ll meet Shadowheart, a brooding tiefling cleric, and explore the ruins, encountering minor combat encounters and looting opportunities.
Seek a Healer: Speak with Nettie, a kindly tiefling medic, and exhaust her dialogue options. This unlocks the crucial long rest mechanic, allowing your party to heal and replenish abilities.
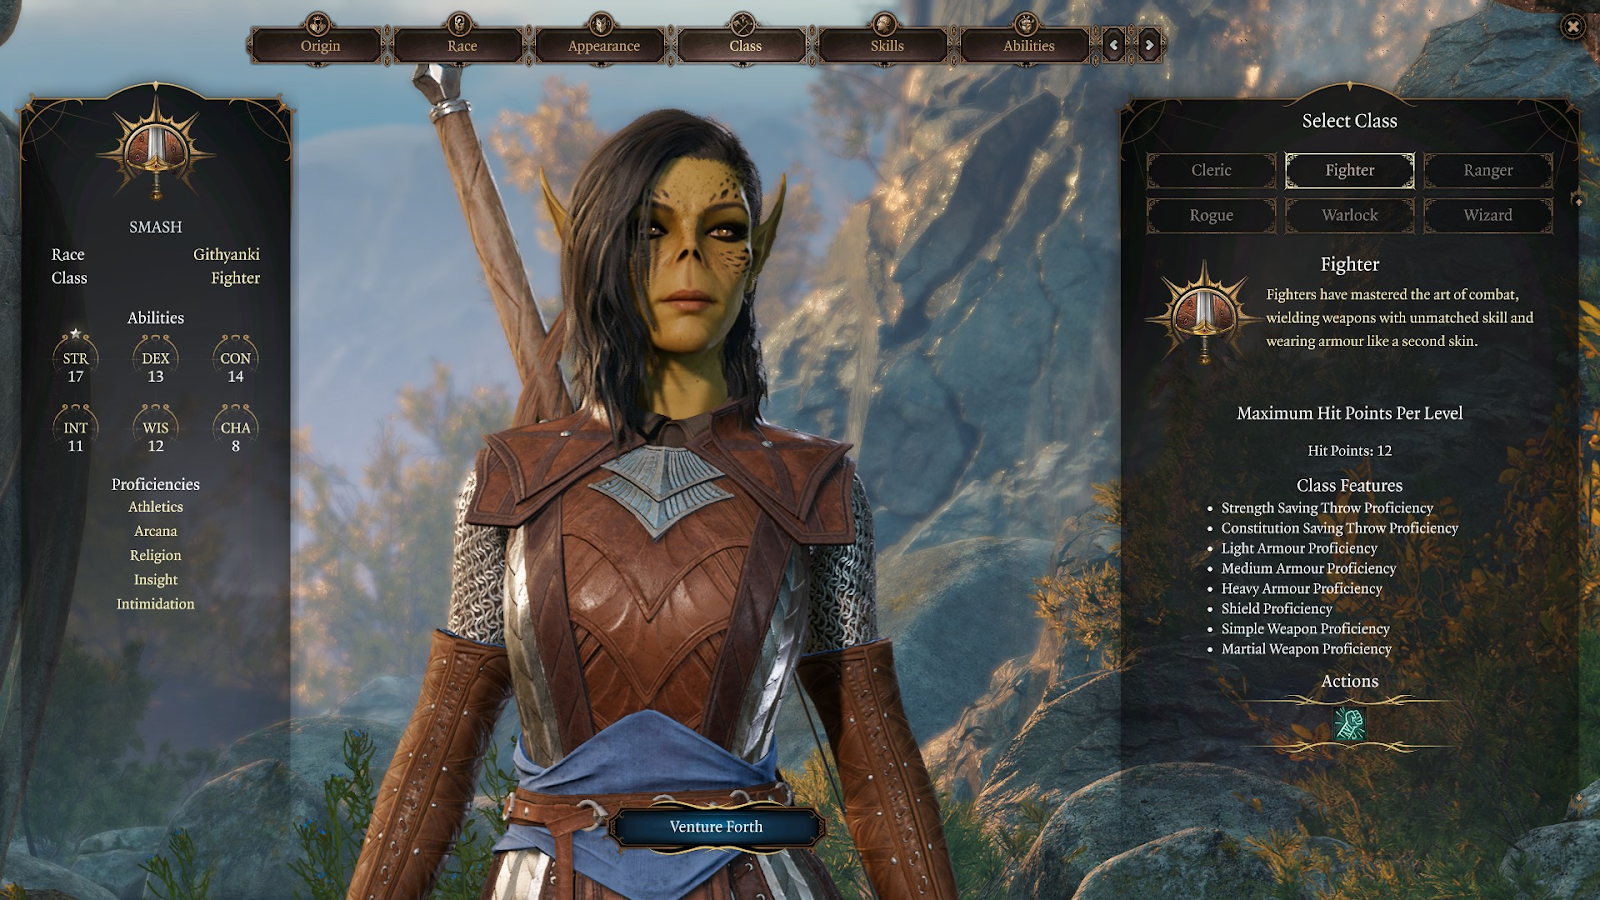
Uncover the Creche: Locate the hidden Githyanki creche (a githyanki is a psionic warrior race). Here you’ll find a tense standoff and can choose to side with Lae’zel (violent approach) or find a more diplomatic solution. This choice impacts your relationship with Lae’zel.
Rescue Halsin: Help the druid Halsin escape captivity. This involves navigating through a hidden passage and defeating enemies. Halsin becomes a valuable companion, offering healing and nature-based magic.

Act 1 Choices: Druid Grove or Moonrise Towers?
A key decision awaits: pursue a cure for the tadpole parasite either at the Druid Grove, Halsin’s home, or Moonrise Towers, the suspected source of the parasitic magic. Both paths offer unique experiences and companions.
The Druid Grove Path:
Unravel the Mystery: Travel to the Druid Grove, a haven for nature-loving characters. Here you’ll encounter Astarion, a charming vampire spawn rogue, and explore the grove’s secrets.
Choices and Consequences: The grove presents various quests and moral dilemmas. Will you side with the grove’s protectors in a potential conflict with refugees, or find a peaceful resolution? These choices influence the grove’s fate and your reputation.
Companions Abound: The grove is brimming with potential companions, including the fierce barbarian, Minsc, and the enigmatic tiefling warlock, Wyll.
The Moonrise Towers Path:
Into the Underdark: This route takes you through the treacherous Underdark, a vast subterranean network. Expect challenging encounters with vicious creatures like duergar (dwarven subrace) and drow (dark elves).
Seeking the Scholar: Your objective is to find a scholar rumored to possess knowledge about the tadpole parasite. This path offers a more dungeon-crawling experience with puzzles and traps to overcome.
Unlikely Alliances: You may encounter the Mind Flayer tadpole within you influencing your decisions and potentially leading to an alliance with a mind flayer.
Exploring the Camp
No matter which path you choose, you’ll return to your camp at regular intervals. Here you can:
Rest and Replenish: Use your camp to take long rests, heal your party, and prepare for upcoming challenges.
Interact with Companions: Converse with your companions to learn more about their backstories, forge bonds, and unlock new quests.
Manage Inventory: Sort through your loot, equip your characters with the best gear, and sell unwanted items.
Act 2: The Parasite’s Grip Tightens
As you progress, the tadpole parasite’s influence strengthens, unlocking new abilities but also presenting dark choices. Act 2 focuses on these themes and your chosen path’s continuation.
The Druid Grove Path:
Nature’s Wrath: The grove faces threats both internal and external. You’ll delve deeper into the grove’s lore, uncover a looming danger, and make choices that determine the grove’s fate.
Confronting the Parasite: The grove offers opportunities to understand and potentially control the tadpole’s power.
The Moonrise Towers Path:
Ascending the Towers: Navigate the treacherous Moonrise Towers, battling formidable foes and uncovering the secrets behind the tadpole parasite’s creation.
The Mind Flayer Threat: You’ll face the mind flayers directly, encountering powerful foes and difficult moral dilemmas.
FAQ’S
Escape from the Flaming Fist! What’s the first move?
Get your bearings! Talk to the other captives, find supplies in the wreckage, and activate your character’s magical tadpole. Then, head to the waypoint marker and deal with the situation there. Remember, your choices here can impact the story.
Healer or Fighter? Picking the Right Companions
The world of Baldur’s Gate 3 offers a rich cast of companions to join your party. Look for characters that complement your playstyle. If you’re a magic-wielding sorcerer, consider a tanky companion like Lae’zel the warrior. Talk to potential companions and exhaust their dialogue options to unlock them.
The Sticky Situation: Should I Help Nettie the Healer?
Helping Nettie is a good deed, but it’s not mandatory. She can heal your party and point you towards hidden areas. However, some companions might disapprove of your choice.
Creche Chaos: What to Expect at the Githyanki Hideout?
The Githyanki Creche is crawling with dangers. Be stealthy to avoid detection. Here you can find powerful equipment and learn more about the tadpoles plaguing your mind.
Druid in Distress: Saving Halsin the Outlander
Halsin, a friendly druid, is trapped by the Githyanki. You can fight your way in or use dialogue checks to convince them to release him. Halsin can be a valuable companion, so consider recruiting him.
Moonrise Towers: Taking the High Road or the Low Road?
There are two main paths to Moonrise Towers, the source of the tadpole trouble. The Mountain Pass route is above ground and perilous, while the Underdark path offers a sneakier, more dangerous trek. Choose based on your party’s strengths and your preferred playstyle.
A Mindflayer in Need? Dealing with Omeluum
Omeluum, a strange mindflayer you encounter, might seem like a villain, but he offers valuable information about the tadpoles. You can choose to help him or fight him. Helping him can lead to interesting story developments.
Auntie Ethel: Friend or Foe?
Auntie Ethel is a powerful hag with questionable morals. You can try to make a deal with her or fight her. Be wary, though, her bargains might come at a steep cost.
Should I Embrace the Power of the Tadpole?
The tadpole in your head grants you power, but it also whispers dark temptations. The choices you make throughout the game will determine how much you control the tadpole’s influence. Embrace the power and risk corruption, or resist and find another way.
Lost in the Story? Where to Find a Baldur’s Gate 3 Walkthrough?
Many great resources are available online to guide you through Baldur’s Gate 3’s twists and turns. Consider checking out IGN’s walkthrough or searching for walkthrough videos on Youtube for a more visual experience.
To read more, Click here