Depulso puzzle room 1, Hidden within the grand halls of Hogwarts Castle lies a secret chamber brimming with magical challenges – Depulso Puzzle Room 1. This optional area tests your mastery of the forceful spell Depulso, rewarding you with valuable loot and contributing to 100% game completion.
This guide equips you with all the knowledge you need to navigate Depulso Puzzle Room 1, solve its perplexing challenges, and claim the treasures within.
Unlocking the Secret: Pre-requisites and Location
Before embarking on your puzzle-solving adventure, ensure you meet the following requirements:
Complete the Side Quest: The Hall of Herodiana: This quest unlocks access to the hidden Depulso Puzzle Rooms. You can tackle it at any point in the game, even after completing the main story.
Location, Location, Location: Travel to the Potions Classroom within the Library Annex. Head through the doorway directly ahead and turn left. Descend the stairs until you encounter a Level 1 Lock guarding the entrance to Depulso Puzzle Room 1.
Key to the Challenge: Mastering Depulso: As the name suggests, proficiency in the Depulso spell is crucial. Depulso allows you to forcefully push objects, a skill you’ll need to manipulate the room’s movable blocks to reach hidden areas and unlock chests.
Deciphering the Depulso Puzzle: A Step-by-Step Guide
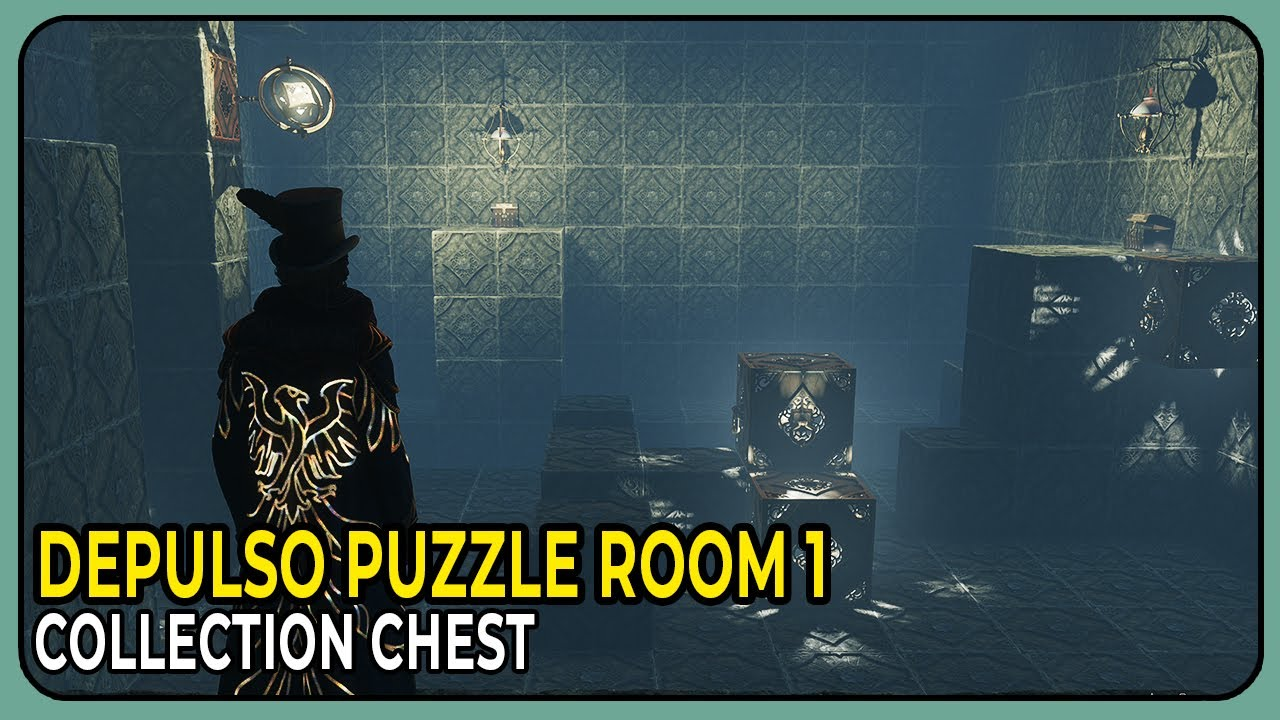
Upon entering Depulso Puzzle Room 1, a narrow hallway leads you to the main chamber. Here’s a detailed breakdown of how to solve the puzzle and access all the hidden goodies:
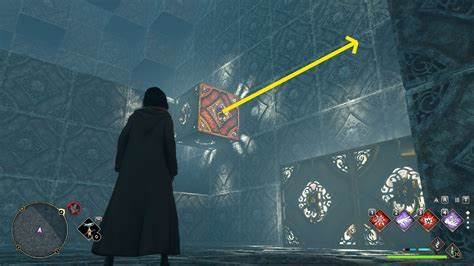
The Floating Block: Look to your right and spot a single block levitating in mid-air. Cast Accio, the summoning spell, to pull the block towards the entrance of the room. This creates additional space for maneuvering later.
Conquering the Central Blocks: In the center of the room, you’ll find two immovable blocks. Approach them from the left side and cast Depulso to push them southward, towards the right pillar.
Scaling the Heights: Those two blocks you just pushed? They’re now your stairway to success! Climb atop the blocks to reach the chest perched on the right pillar. Open it to claim a piece of random gear.
Building the Bridge: Now comes the trickier part – constructing a bridge to access the remaining chests. Turn your attention to the three movable blocks positioned near the left wall.
Maneuvering the Trio: Here’s the sequence:
Push the two blocks closest to the wall together.
Use Depulso on the remaining single block and push it towards the newly formed pair. You now have a makeshift three-block bridge.
The Great Push & Pull: The tricky part – you need to maneuver the entire three-block bridge across the room. Here’s where patience comes in handy. A combination of pushing and pulling with Depulso is required. Remember, you can nudge the bridge a little at a time. Slowly but surely, guide the bridge across the room towards the right side.
Chest, Glorious Chest: With the bridge in place, a new section of the room becomes accessible. Cross the bridge and proceed down the short corridor. Here, you’ll find another chest containing a random gear piece.
Reaching New Heights: Look up! You’ll see four immovable blocks positioned high on the wall. These appear once you’ve completed the previous steps.
Final Steps to Glory: Climb the remaining movable blocks in the center of the room to reach a ledge overlooking the newly revealed section. From here, use well-placed jumps to reach the four immovable blocks positioned high on the wall.
The Collection Chest Awaits: Carefully navigate the four immovable blocks to reach a platform holding the Collection Chest. This chest holds the true prize – a random Conjuration spell, a crucial element for achieving 100% game completion in the Collector’s Edition trophy/achievement.
Congratulations! You’ve successfully conquered Depulso Puzzle Room 1 and claimed its treasures.
Additional Tips:
Don’t get discouraged if it takes a few tries to maneuver the bridge. A bit of trial and error is normal.
If you get stuck and can’t seem to move the bridge, simply fast travel outside the room and re-enter. This will reset the puzzle, allowing you to begin again.
FAQ’S
Where is Depulso Puzzle Room 1?
This secret room lies hidden within the Library Annex at Hogwarts Castle. To access it, you’ll need to have completed the “Hall of Herodiana” side quest first.
How do I unlock Depulso Puzzle Room 1?
Once you’ve finished “Hall of Herodiana,” fast travel to the Potions Classroom in the Library Annex. Head through the door ahead, turn left, and descend the stairs. You’ll encounter a Level 1 Lock on a door. Behind this door lies the entrance to Depulso Puzzle Room 1. Use Depulso (the knockback spell) on the stone tablet by the right wall to reveal the passage.
What spells do I need for Depulso Puzzle Room 1?
You’ll only need two spells to conquer this room: Depulso and Accio. Depulso pushes objects away, while Accio pulls them towards you.
How do I solve the first puzzle in Depulso Puzzle Room 1?
As you enter, you’ll see a floating block on the right. Cast Accio to pull it westward. Jump down and approach the two central blocks from the left. Cast Depulso to push them southward. Climb these blocks to reach the first chest containing gear.
How do I open all the chests in Depulso Puzzle Room 1?
There are three chests in total. After grabbing the first chest, you’ll need to use a combination of pushing (Depulso) and pulling (Accio) on the remaining movable blocks to create a series of steps and bridges to reach the higher chests. They contain random gear and a Collection Chest that unlocks a random Conjuration spell.
Is there a video walkthrough for Depulso Puzzle Room 1?
Yes, several helpful video walkthroughs are available on YouTube ([YouTube]). These visuals can be a big aid in understanding the puzzle mechanics.
Can I complete Depulso Puzzle Room 1 later in the game?
Absolutely! As long as you’ve finished “Hall of Herodiana,” you can tackle Depulso Puzzle Room 1 at any point in your Hogwarts Legacy journey.
Do I need to solve Depulso Puzzle Room 1 to complete the game?
No, solving Depulso Puzzle Room 1 is entirely optional. However, it’s a great way to score some loot and a new spell for your collection.
What if I get stuck in Depulso Puzzle Room 1?
Don’t worry, there’s no way to get trapped in the room. You can simply fast travel out if you need a break and come back later.
Is Depulso Puzzle Room 1 the only Depulso puzzle room?
No, there are multiple Depulso puzzle rooms scattered throughout Hogwarts Legacy, each offering unique challenges to test your spellcasting skills. Keep your eyes peeled for these secret areas!
To read more, Click here