The vast and vibrant world of Hyrule in The Legend of Zelda: Tears of the Kingdom is brimming with hidden secrets and challenging trials. Among these are the Shrines, and intricate puzzle chambers that test Link’s skills and ingenuity. One such Shrine, the Ishodag Shrine, stands out for its clever use of wind mechanics and offers a rewarding experience for players.
This comprehensive guide delves into everything you need to know about the Ishodag Shrine, from its location and purpose to solving its puzzles and claiming its treasures. So, unfurl your paraglider, sharpen your wits, and prepare to harness the power of the wind!
Unveiling the Ishodag Shrine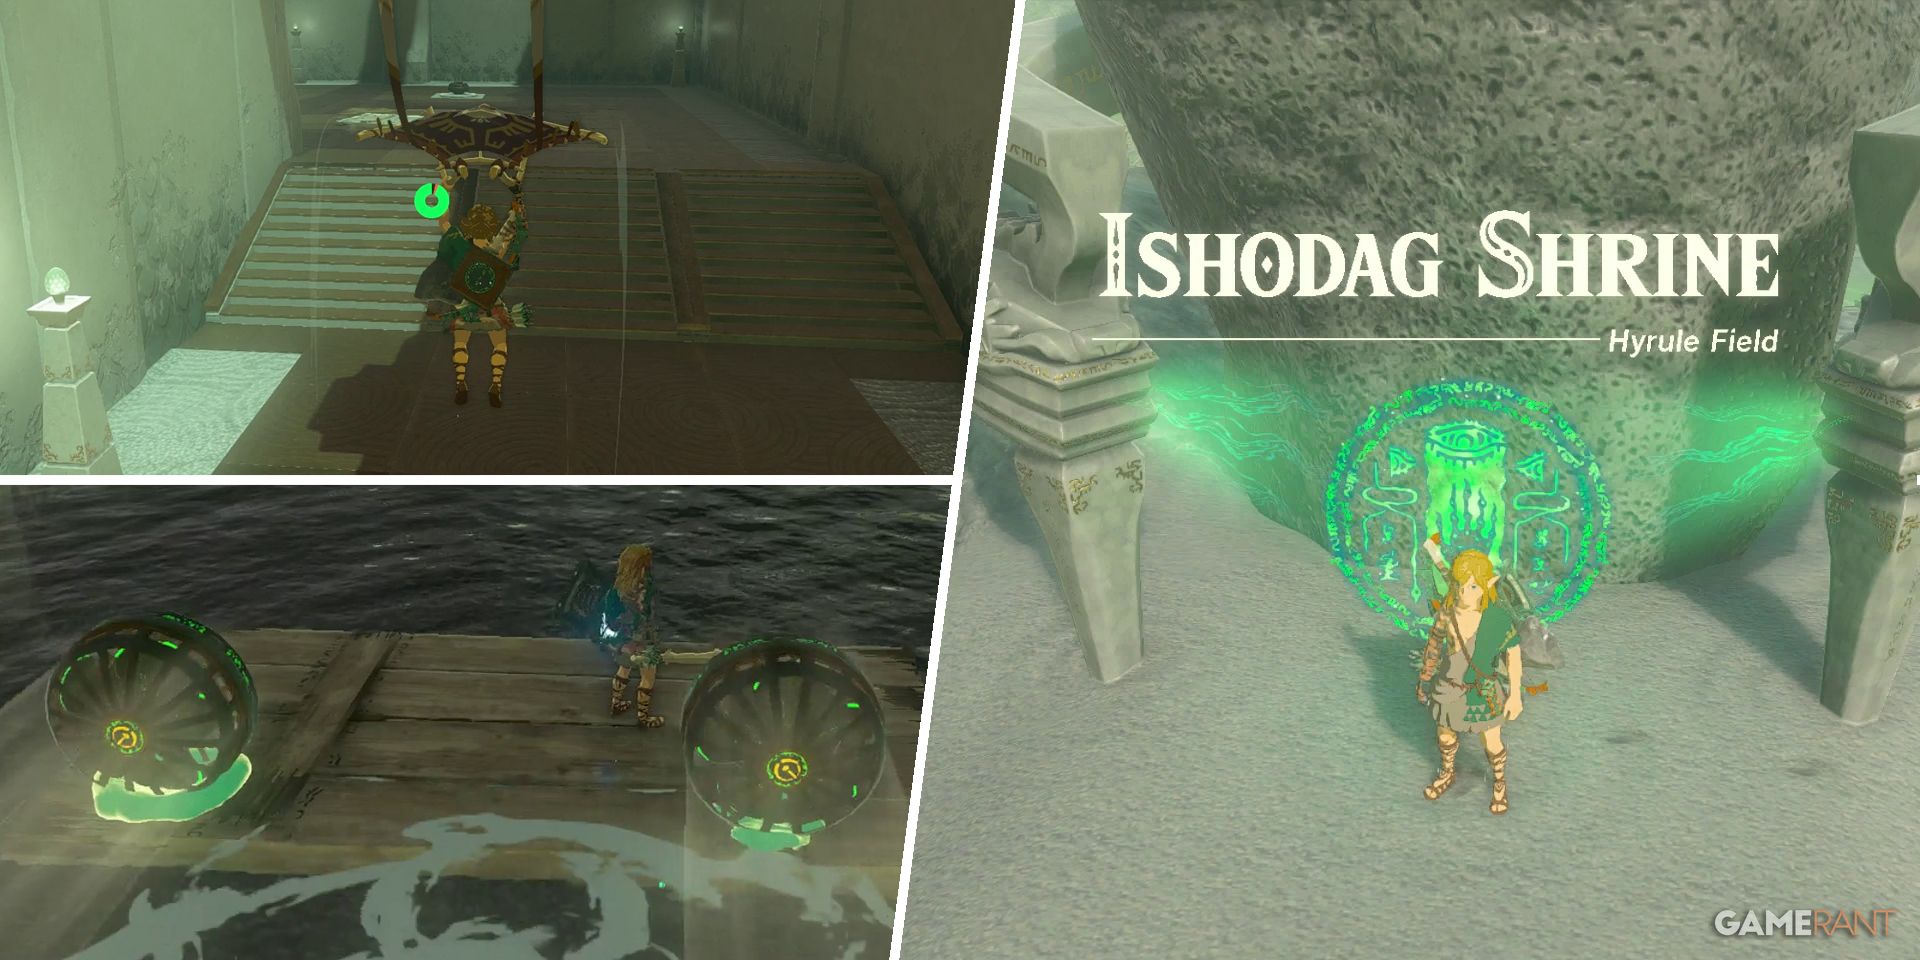
The Ishodag Shrine, also known as “A Windy Device,” resides in the Central Hyrule Region. With a whopping 152 Shrines scattered throughout Tears of the Kingdom, pinpointing the Ishodag Shrine might seem daunting. Fear not, adventurers! Here’s how to find this fascinating location:
- Location: Look west of the Hyrule Castle Town Ruins, a prominent landmark in Central Hyrule. The Ishodag Shrine sits atop a rocky hill, slightly north and west of Lookout Landing Skyview Tower.
- Entrance: Head towards the northern side of the rocky hill. You’ll find a distinctive stone-cut overhang. Climb this overhang and use the Ascend ability (earned earlier in your journey) to pass through it, revealing the entrance to the Ishodag Shrine.
- Coordinates: For those who prefer a precise approach, the Ishodag Shrine can be located at coordinates -0880, 0422, 0049.
A Windy Affair: Deciphering the Ishodag Shrine’s Puzzles
The Ishodag Shrine lives up to its nickname, “A Windy Device,” by incorporating wind mechanics into its core puzzles. Here’s a breakdown of the challenges you’ll encounter and how to overcome them:
- The Gentle Breeze: Upon entering the Shrine, you’ll find a large fan contraption in the centre. Interact with the fan to activate it, creating a gentle breeze. This initial breeze serves as a helpful nudge, propelling Link across a small gap to a higher platform.
- Scaling the Heights: From the elevated platform, you’ll notice two detachable fans mounted on the wall. Use the Magnesis Rune (another handy ability you’ve acquired) to detach these fans and carry them with you.
- Bridging the Gap: Jump down to the central platform with a circular indentation. Here, strategically place one of the detached fans in the center. Now comes the clever part: Employ the Sheikah Slate’s new Ultrahand ability to forcefully push the platform upwards. As the platform rises, hop onto it and use the Paraglider to gracefully glide to the ledge above.
- A Rotating Challenge: On this new ledge, you’ll encounter a large, rotating platform. Carefully place the remaining detached fan on the backside of the platform. Once again, activate the fan using the Sheikah Slate, causing the platform to rotate horizontally. This creates a bridge, allowing you to safely cross the water.
- Reaching the Summit: Having crossed the water, you’ll find yourself facing another elevated platform. Here’s where things get a little more technical.
- Option 1: Repeat step 3, using Ultrahand to propel the platform upwards. However, this time, aim for a higher elevation that allows you to access the chest containing an Opal (a valuable gemstone). From this vantage point, you can then Paraglide down to the exit located at the top of the Shrine.
- Option 2: For a slightly quicker approach, propel the powered fan (the one currently attached to the rotating platform) against the wall near the sloped surface. This creates a makeshift wind tunnel. With careful timing, use the Paraglider to catch the wind current and propel yourself to the top of the Shrine, bypassing the chest.
- Option 1: Repeat step 3, using Ultrahand to propel the platform upwards. However, this time, aim for a higher elevation that allows you to access the chest containing an Opal (a valuable gemstone). From this vantage point, you can then Paraglide down to the exit located at the top of the Shrine.
Remember: There’s no single “correct” way to solve these puzzles. Experiment with the mechanics and find the solution that works best for you!
FAQs
Finding the Ishodag Shrine
- Location: Look for it in Central Hyrule, west of Hyrule Castle Town Ruins. It’s slightly north and west of Lookout Landing Skyview Tower.
- Entrance: You’ll find a stone-cut overhang on the north side. Climb up and use the Ascend ability to pass through it.
Conquering the Ishodag Shrine
- The Gist: This shrine is all about using wind strategically with the help of movable fans.
- Handy Sheikah Slate Abilities: You’ll need your trusty Paraglider and the Magnesis or Remote Bomb Rune (depending on the solution you choose) to complete this shrine.
Q: I found the first fan. What do I do?
- A: Activate the fan to create an updraft. Use your Paraglider to reach the higher ledge.
Q: How do I get the chest?
- A: There are two solutions:
- Solution 1 (Magnesis): Attach a fan to the wooden platform using Magnesis. Ride this platform across the water to reach the chest.
- Solution 2 (Remote Bomb): Detonate a Remote Bomb next to the rotating platform to turn it horizontally. Climb up using Ascend to reach the chest.
Q: How do I get to the exit?
- A: Here’s the trickiest part:
- Place a fan in the centre of the platform.
- Use the Sheikah Slate’s Ultrahand ability to push the platform as high as it goes.
- Get on the platform and activate the fan.
- Use your Recall ability in combination with your Paraglider to reach the top of the shrine.
Looking for a visual guide?
There are plenty of resources to help you out! You can find video walkthroughs on YouTube by searching for “Ishodag Shrine walkthrough” or “Ishodag Shrine puzzle guide.”
To read more, Click here