Kudanisar shrine, The vast Gerudo Desert in Tears of the Kingdom holds many secrets, and among them are the hidden trials known as Shrines. One such Shrine, the Kudanisar Shrine, presents a unique challenge that tests your resourcefulness and ability to navigate treacherous terrain. This guide will equip you with all the knowledge you need to conquer the Kudanisar Shrine, claim its treasures, and earn a Spirit Orb.
Locating the Kudanisar Shrine
The Kudanisar Shrine resides in the unforgiving northern reaches of the Gerudo Desert. Look for a lone, elevated stone platform amidst the unforgiving dunes. Here are two ways to reach the Shrine:
From the Gerudo Highlands Skyview Tower: This is the recommended approach. Paraglide south-southwest from the Tower, keeping an eye out for the Shrine’s raised platform in the distance. You should be able to land safely on it.
Direct Approach (Risky): If you’re feeling adventurous, you can attempt to climb the cliffs north of the Shrine. However, be cautious of the treacherous terrain and potential enemies lurking nearby.
Navigating the Shifting Sands
Upon entering the Kudanisar Shrine, you’ll find yourself in a vast chamber filled with deep, shifting sands. This sand acts like quicksand, rapidly draining your stamina if you touch it. Here’s what you need to be aware of:
Stamina Management: Be mindful of your stamina gauge. Jumping or running through the sand will deplete it quickly.
Strategic Movement: Plan your movements carefully. Look for solid platforms and strategically use Sheikah Slate abilities like Revali’s Gale (wind boost) to propel yourself across short distances.
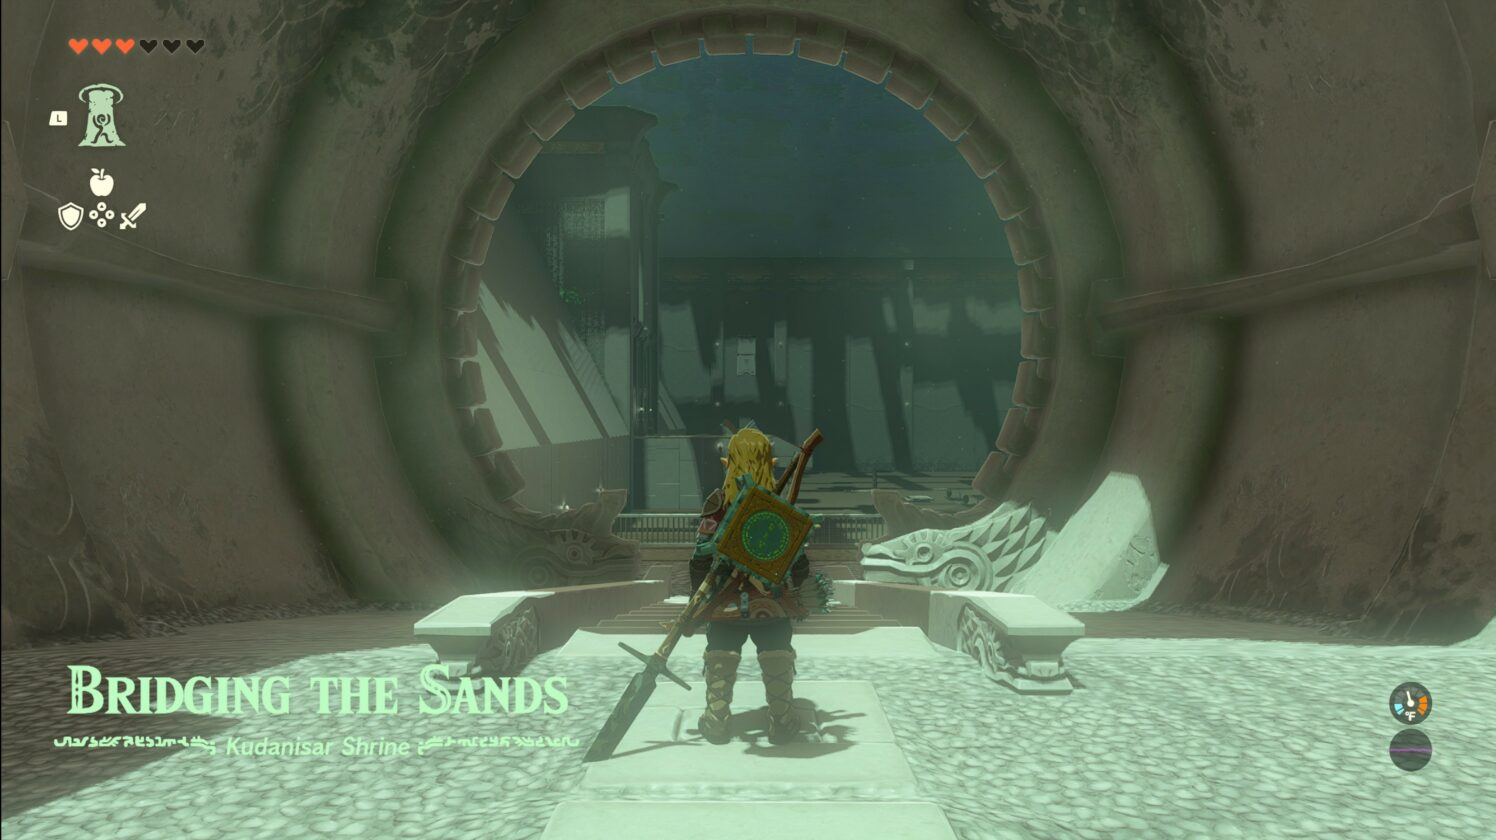
Solving the “Bridging the Sands” Puzzle
The objective of the Kudanisar Shrine is to reach the exit located on the opposite side of the room. The key lies in utilizing the strategically placed wooden planks scattered throughout the sand. Here’s a step-by-step guide to solving the puzzle:
Escaping the Starting Area: Look for a single, upright wooden plank near the stairs you entered on. Pull it out using the Magnesis Rune and position it horizontally across the gap in the fence. Quickly use the Stasis Rune to freeze the plank in place, then jump over it to reach the main chamber.
Reaching the Central Platform: Locate a metal ladder leaning against the left wall. Climb it to reach a central platform with two enemies. Defeat them if you wish, but they are not essential to solving the puzzle.
Obtaining the Optional Chest: Look for a rope hanging from the ceiling on the far side of the central platform. You can use this rope to swing across and reach a smaller platform with a single enemy and a treasure chest. Deal with the enemy and use the Magnesis Rune to detach the chest from the platform. Employ the Remote Bombs or your bow and arrow to break the rope and safely retrieve the chest containing valuable loot.
Utilizing the Sand Slider: Descend from the central platform and locate a large, rectangular wooden platform resting on the sand. This is the Sand Slider, a contraption you’ll use to navigate across the room. Stand on the metal pressure plate in front of the Sand Slider to activate it.
Maneuvering the Sand Slider: The Sand Slider can only move forward; it has no reverse gear. Steer it carefully, avoiding the many obstacles scattered throughout the sand.
Reaching the Final Platform: Navigate the Sand Slider towards the northwest corner of the room. Here, you’ll find a small, elevated platform with a metal bowl resting on it. Grab the bowl using the Magnesis Rune.
Bridging the Gap: Return to the central platform and pick up another wooden plank. Use the Magnesis Rune to position the plank vertically in an empty slot on the Sand Slider. Now, use the bowl you collected earlier and attach it to the top of the plank using the Magnesis Rune again. This creates a makeshift bridge.
Reaching the Exit: Carefully position the Sand Slider so the makeshift bridge extends across the gap towards the exit platform. Climb onto the bridge and walk to the exit to complete the Shrine.
Claiming Your Reward
Upon reaching the exit, you’ll be presented with a Monk who will reward you with a Spirit Orb for completing the Kudanisar Shrine. This valuable item can be used to enhance your health or stamina at any Sheikah Sensor Tower.
Additional Tips and Tricks
Treasure Chests: There are two treasure chests hidden within the Kudanisar Shrine. Refer to the steps mentioned earlier to locate the optional chest on the smaller platform.

FAQ’S
Where is the Kudanisar Shrine located?
This desert shrine rests on the northern edge of the Gerudo Desert. You can easily paraglide from the Gerudo Highlands Skyview Tower in a south-southwesterly direction to reach it. Look for a lone stone platform amidst the sandy landscape.
How do I enter the Kudanisar Shrine?
The entrance is straightforward. Look for the opening on the middle of the leftmost wall upon entering the area.
What awaits me inside the Kudanisar Shrine?
Brace yourself for a moving sand challenge! The entire shrine is filled with hazardous quicksand that quickly drains your stamina. Be mindful of your footing!
How do I solve the Kudanisar Shrine puzzle?
The main objective is to navigate the treacherous sands and reach the exit on the opposite side. Here’s a tip: Utilize the strategically placed wooden planks to create pathways and avoid the quicksand. You’ll also encounter a hoverboard that you can use to traverse specific areas.
Are there any secrets in the Kudanisar Shrine?
You bet! The shrine holds two hidden treasure chests containing valuable loot. One chest is located on a small platform guarded by enemies, and the other requires some tricky maneuvering with the rope and the hoverboard.
What do I get for completing the Kudanisar Shrine?
Once you conquer the moving sands and reach the exit, you’ll be rewarded with a Spirit Orb. This orb can be exchanged at specific locations for increased health and stamina, making you a stronger adventurer.
I’m stuck on the moving sand puzzle! Any tips?
Here’s a helpful strategy: Focus on short bursts of movement and avoid running through the quicksand for extended periods. Utilize the provided platforms and strategically plan your jumps to conserve your stamina.
Is there a video guide available for the Kudanisar Shrine?
Certainly! Many helpful YouTubers have created video walkthroughs showcasing the shrine’s layout, puzzle solutions, and hidden chest locations. Search for “Kudanisar Shrine walkthrough” to find these guides.
What are some fun things to try in the Kudanisar Shrine?
Once you’ve conquered the main challenge, experiment with the moving sands and the hoverboard! Can you create your own sandcastle using the planks? How far can you make the hoverboard glide?
I beat the Kudanisar Shrine! What’s next?
The Gerudo Desert holds many more secrets to uncover! Explore the vast expanse, seek out other shrines hidden within the sands, and face the challenges they present. Remember, a courageous adventurer is always up for the next test!
To read more, Click here