Cursed tomb treasures Hogwarts legacy, The allure of hidden chambers and forgotten riches is a constant thread in the wizarding world, and Hogwarts Legacy is no exception. The Cursed Tomb Treasure side quest throws you into the heart of this mystery, leading you to a tomb shrouded in legend and protected by ancient magic. This guide will equip you with all the knowledge you need to navigate the treacherous path to the treasure, from deciphering cryptic clues to solving perplexing puzzles.
Triggering the Treasure Hunt: The Mysterious Map Fragment
Unlike most side quests initiated by a friendly face, the Cursed Tomb Treasure has a more clandestine beginning. You’ll stumble upon the key to this adventure – a fragment of a mysterious map – during the main quest, “The Helm of Urtkot.” Be sure to have the Alohomora spell unlocked, as you’ll need it to access a locked chest containing the map fragment within the quest area.
The map itself is more than just a pretty picture. It depicts the location of the treasure – the Tomb of Treachery – along with a cryptic symbol resembling the “Flippendo” spell. This is your first hint towards the challenges that lie ahead.
Locating the Tomb of Treachery: A Journey South
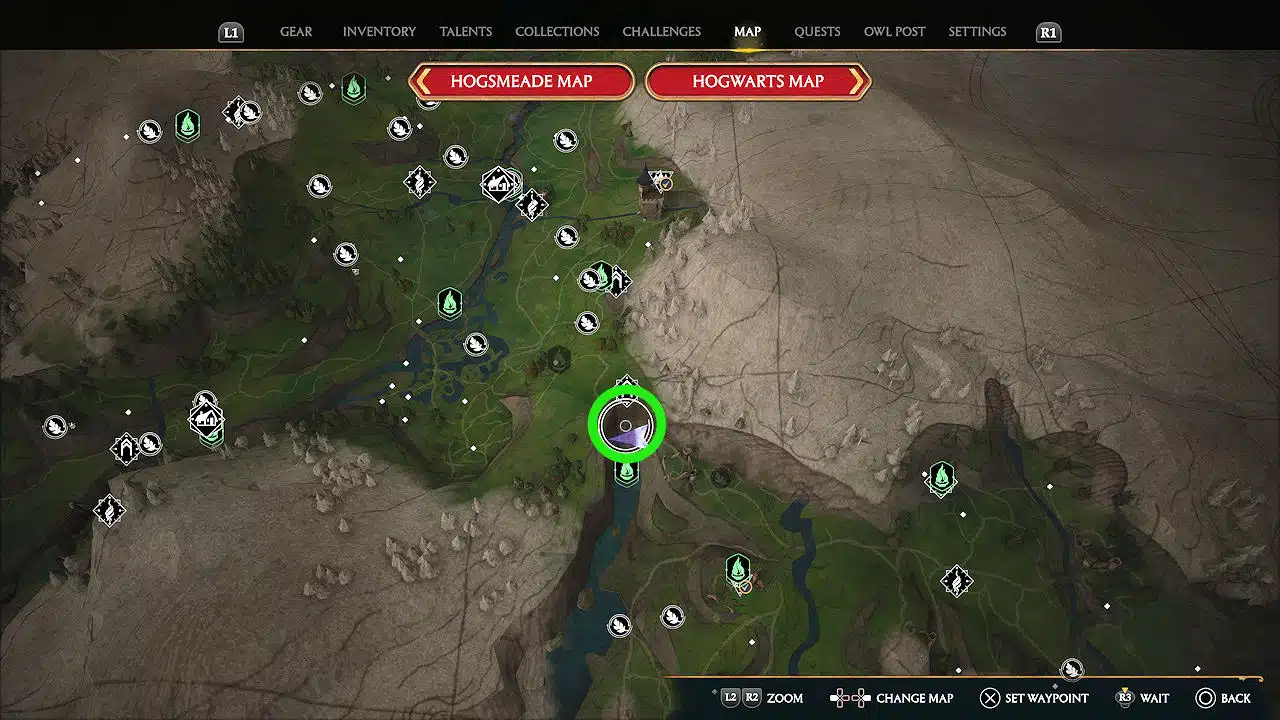
The map fragment points you towards the southern portion of the Hogwarts Legacy map, specifically the Poidsear Coast region. Fast travel to the West Manor Cape Floo Flame for a convenient starting point. From here, mount your trusty broom and fly southwest until you reach a dilapidated manor. Be prepared for some fiery opposition – Inferi guard the manor’s entrance, so equip yourself with Incendio or Confringo to clear your path.
A secret awaits within the manor. Locate a reaper statue near some gravestones. Beneath the statue, you’ll find a bowl. Cast Incendio or Confringo on this bowl to reveal a hidden entrance leading down to the basement. This marks the official beginning of your cursed tomb treasure hunt.
Navigating the Perils: Into the Depths of the Tomb
The basement is a labyrinth of dusty corridors and cobweb-laden corners. Your first obstacle is a locked door guarded by three glowing moths. Here’s where your trusty Lumos spell comes in handy. Cast Lumos to attract the moths and guide them towards the door. Two of the moths can be found flitting about the room itself, with one potentially trapped behind a pesky spiderweb. Use your combat skills to dispatch the spider and free the moth.
The final moth requires a bit more effort to reach. Locate a raised platform in the room. You’ll need to utilize Wingardium Leviosa or Leviosa to move a nearby box and create a makeshift staircase to access the platform. The last moth awaits you there, patiently waiting to be guided to the door. Once all three moths have reached the door, it will magically unlock, granting you passage deeper into the tomb.
Giant spiders lurk in the shadows, so be prepared for a fight. As you delve deeper, you’ll encounter a series of pressure plates triggering stone pillars to rise from the ground. These pillars block your path and can inflict damage if you’re not careful. The solution lies in quick reflexes and timing – use the Revelio spell to highlight these pressure plates beforehand and plan your movements accordingly.
The Final Challenge: Deciphering the Puzzle
After navigating the pressure plate gauntlet, you’ll arrive at the heart of the tomb – a chamber adorned with strange symbols and a central pedestal holding a chest. This chest, no doubt, holds the much-desired treasure. But claiming it won’t be a simple task.
Here’s where the map fragment with the “Flippendo” symbol comes into play. Take a close look at the chamber walls. You’ll see several square stone blocks etched with arrows pointing in different directions. Recalling the map fragment, use Flippendo to rotate these blocks so their arrows match the orientation depicted on the map.
Remember, the perspective matters. The orientation of the arrows on the map fragment is based on your initial entry point into the chamber, not your current position. So, take a moment to orient yourself and ensure you’re flipping the blocks correctly.
As you successfully rotate the blocks to match the map fragment, the central pedestal will gradually rise, revealing the chest containing the long-lost treasure.
Claiming Your Reward: The Spoils of the Tomb
Congratulations! You’ve successfully navigated the perilous depths of the Tomb of Treachery and solved the ancient puzzle.

FAQ’S
How do I start the Cursed Tomb Treasure quest?
This quest doesn’t have a designated giver. You’ll find the key to unlocking it – a Mysterious Map Fragment – hidden inside a locked chest. Make sure you’ve learned the Alohomora spell to crack that chest open!
Where can I find the Mysterious Map Fragment?
The fragment is tucked away in the basement of a ruined manor located southwest of Bainburgh in the Manor Cape region. To access the basement, you’ll need to find a hidden entrance. Look for a reaper statue with gravestones nearby and use a fire spell (like Incendio or Confringo) to light the bowl beneath it.
What does the Mysterious Map Fragment tell me?
The map fragment is more than just a fancy piece of parchment. It shows the location of the treasure – the Tomb of Treachery – and hints at solving a puzzle to claim it. Look closely for symbols that might be clues.
How do I get to the Tomb of Treachery?
The Tomb of Treachery is nestled on the northwest corner of the Poidsear Coast region. Fast traveling to the Tomb of Treachery Floo Flame (if you’ve unlocked it) is the quickest option. Otherwise, head there on your trusty broom! The entrance is hidden behind a waterfall, past a Merlin Trial.
What awaits me inside the Tomb of Treachery?
The tomb is more than just a treasure chamber. Be prepared to face some challenges! You’ll encounter a locked door guarded by moths. Use Lumos to guide them to the door to unlock it. Spiders and puzzles also stand between you and the treasure.
How do I solve the puzzle in the Tomb of Treachery?
The map fragment holds the key. Look for symbols depicting arrows on rotating stone blocks. Use the spell Flippendo to rotate the blocks so their arrows match the orientation shown on the fragment.
What treasure awaits at the end?
The exact reward can vary depending on your gameplay and progress. Many players have reported finding the Treasure Seeker’s Outfit, a unique piece of gear that might enhance your exploration abilities.
Can I miss out on the Cursed Tomb Treasure quest?
Technically, no. The map fragment and the tomb itself remain accessible throughout the game. However, the earlier you acquire the Alohomora spell, the sooner you can access the quest.
Are there any special tricks to know for the Cursed Tomb Treasure quest?
Having spells like Lumos and Wingardium Leviosa at your disposal will definitely help navigate the tomb. Additionally, keeping an eye out for hidden alcoves and crawlspaces might reveal extra goodies.
Is the Cursed Tomb Treasure quest worth it?
Absolutely! It’s a rewarding quest that introduces puzzle-solving elements and grants you a unique piece of equipment. It’s also a fantastic way to test your combat and spellcasting skills.
To read more, Click here