Hogwarts Legacy is brimming with magical challenges, and Depulso Puzzle Room 2 is no exception. This secret chamber within the castle walls presents a captivating test of your spellcasting prowess and rewards you with a hidden treasure. This guide delves into everything you need to know about Depulso Puzzle Room 2, from its location and unlocking requirements to a detailed walkthrough and solutions.
Where to Find Depulso Puzzle Room 2
The key to uncovering Depulso Puzzle Room 2 lies in the Bell Tower Wing of Hogwarts Castle. Here’s a step-by-step guide to navigating your way there:
Fast Travel: Utilize the handy Floo Flames for swift transportation. Select “Hogwarts” followed by “Bell Tower Wing” and then “Bell Tower Courtyard” as your destination.
Initial Climb: Upon arrival at the Bell Tower Courtyard, take a left turn and ascend the first set of stairs that come your way.
Classroom Passage: Proceed straight through the doorway ahead, leading you into a classroom.
Hidden Chamber: Keep moving forward, passing through the open door of the classroom to reach another room. Here, locate a door on the right side that boasts a Level 1 Lock.
Alohomora’s Assistance: To unlock this door, you’ll need to have acquired the Alohomora spell. This spell is unlocked by progressing through the “The Caretaker’s Lunar Lament” main quest.
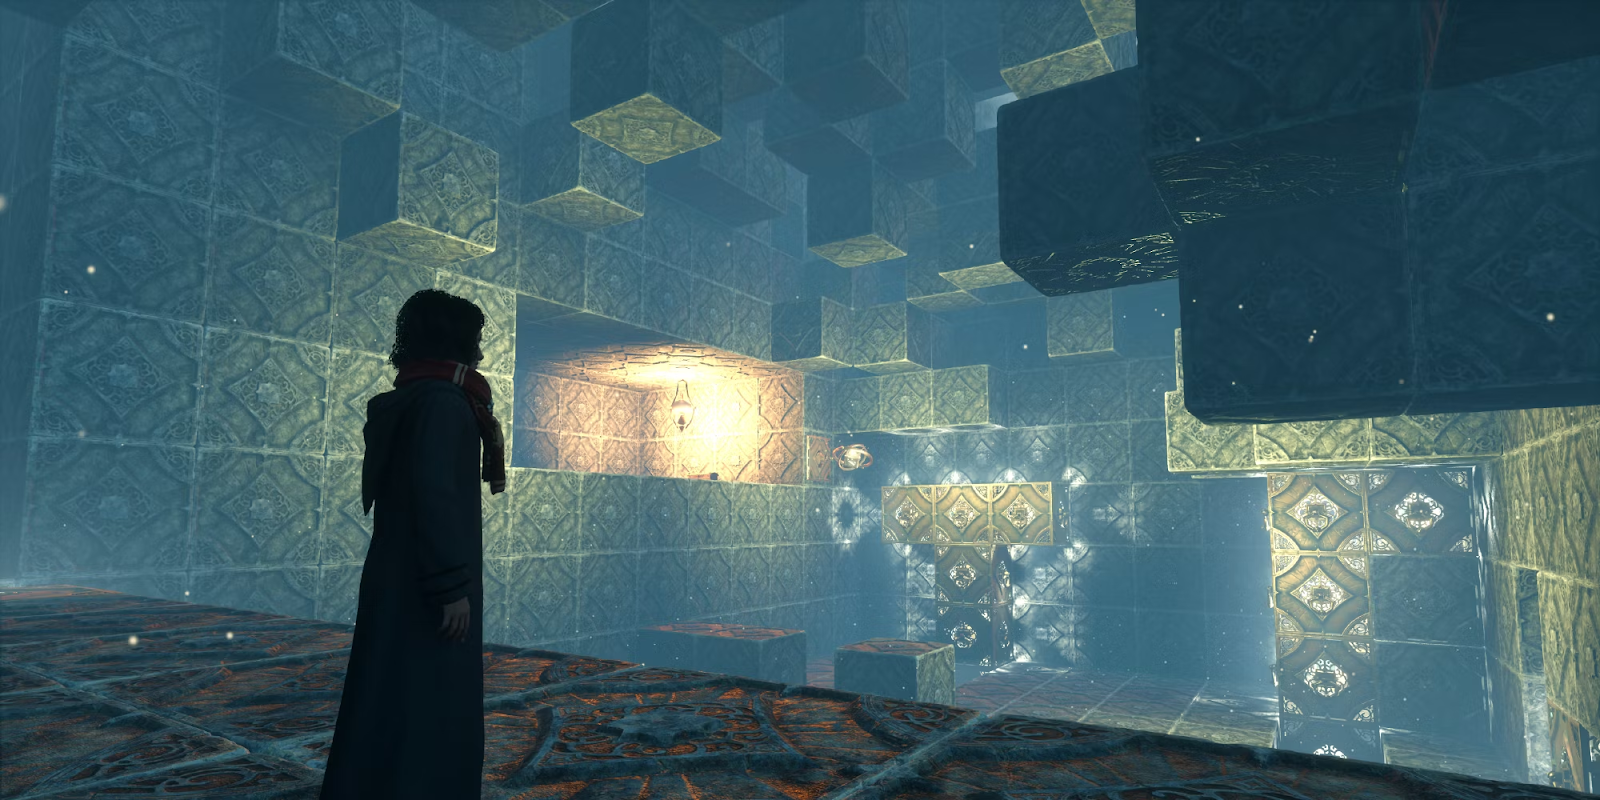
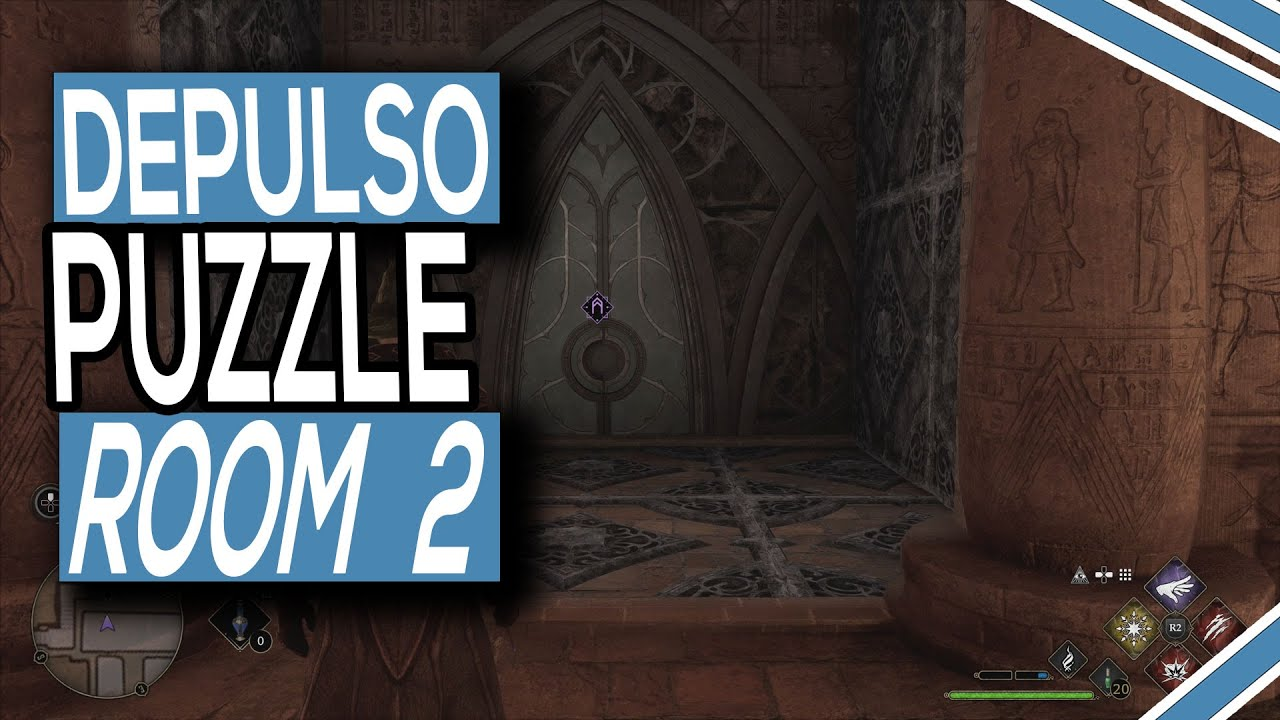
Depulso Revelation: Once you’ve unlocked the door, enter the room and inspect the right-hand walls. This area bears an uncanny resemblance to an ancient Egyptian chamber. Cast Depulso on the inconspicuous marble wall tucked away in the corner. Witness the magic unfold as the wall crumbles, revealing the entrance to Depulso Puzzle Room 2.
Important Note: Completing the “The Hall of Herodiana” side quest is a prerequisite for accessing Depulso Puzzle Room 2. You can tackle this side quest at any point in the game, even after completing the main storyline.
Solving the Depulso Puzzle: A Step-by-Step Guide
Now that you’ve gained entry into the hidden chamber, it’s time to tackle the Depulso Puzzle itself. This puzzle is comprised of two interconnected rooms, each demanding strategic maneuvering of movable blocks using the Depulso spell. Here’s a detailed breakdown of the solution:
Room 1:
Initial Positioning: Stand near the entrance of the room, facing a set of three movable blocks arranged in a horizontal line.
Shifting the First Block: Cast Depulso on the block closest to you, propelling it backwards.
Extracting the Middle Blocks: Utilize Depulso once more to pull out the two middle blocks from the remaining set of three.
Rearranging the Middle Blocks: Push these two extracted blocks towards the back wall of the room.
Lateral Maneuver: Slide the two middle blocks sideways until they reach the left-hand wall of the room.
Central Placement: Employ Depulso to pull these two blocks towards the center of the room.
Final Push: Deliver one last Depulso to nudge these middle blocks forward, creating a makeshift staircase.
Stairway to the Top: Ascend this newly formed staircase to reach a higher platform.
Room 2:
Treasure Chest: On this elevated platform, you’ll encounter a treasure chest containing valuable loot. Claim your prize!
Exit Revealed: Upon looting the chest, the room will reset itself, and a new exit will be unveiled on the opposite side.
Repeating the Process: Head back down the makeshift staircase and return to the initial set of three blocks in Room 1.
Alternative Approach: Here, you have two options for manipulating the blocks.
Option 1: Pull both the top and bottom blocks simultaneously towards you. Then, slide the top block to the right before pushing it back towards the corner.
Option 2: Pull the top block directly towards you and then slide it to the right before pushing it back. Next, utilize Depulso to pull both the bottom and middle blocks simultaneously and maneuver them in the same way as the top block (slide right, then push back).
Recreating the Bridge: Whichever approach you choose, the objective remains the same – to recreate the bridge-like structure using all three blocks. Slide the blocks to the left side of the room for proper positioning.
Final Steps: Deploy Depulso one last time to pull the bridge structure towards the center of the room. Afterward, cast Depulso again to propel the structure forward, granting access to the final platform.
FAQ’S
What is Depulso Puzzle Room 2?
Depulso Puzzle Room 2 is a secret room hidden within Hogwarts Legacy. It challenges you with a series of puzzles that require using the Depulso spell (the one that knocks things back). Completing this room rewards you with a special Collection Chest containing a random Conjuration collectible.
How do I access Depulso Puzzle Room 2?
This secret room becomes available after you finish the side quest “The Hall of Herodiana.” You can access it later in the game as well. Here’s how to find it:
Fast travel to Hogwarts > Bell Tower Wing > Bell Tower Courtyard.
Turn left and go up the first set of stairs.
Head straight through the door and continue through the open classroom door.
Inside the classroom, unlock the Level 1 Lock on the door using Alohomora (learned from “The Caretaker’s Lunar Lament” main quest).
Go through the unlocked door and look for a marble wall in the corner that resembles an ancient Egyptian chamber. Cast Depulso on this wall to reveal the hidden room.
What’s the solution for Depulso Puzzle Room 2?
This puzzle room consists of two chambers with movable blocks. You’ll need to strategically use Depulso to push and pull these blocks to create pathways and climb to higher levels. There are several guides available online that offer a step-by-step solution with visuals. You can search for “[YouTube Depulso Puzzle Room 2 Solution]” for video walkthroughs.
Are there any chests in Depulso Puzzle Room 2?
Yes, there are a total of three chests in this room: two regular chests and one Collection Chest. The Collection Chest holds a random Conjuration collectible, essential for completing your collections and achievements.
Is there anything else to know about Depulso Puzzle Room 2?
Here are some additional points to keep in mind:
Completing the puzzle resets the room layout, so you’ll need to solve it again to reach the exit on the opposite side.
Take your time and experiment with pushing and pulling the blocks to find the correct solution.
If you get stuck, don’t hesitate to consult online guides for help.
Do I need to be at a specific point in the story to access this room?
No, you don’t need to progress through the main story to access Depulso Puzzle Room 2. As long as you’ve finished the “The Hall of Herodiana” side quest and have learned Alohomora, you can find and enter this secret room at any point in the game.
Is Depulso Puzzle Room 2 difficult?
The difficulty can be subjective. The puzzles require some logical thinking and maneuvering the blocks, but they aren’t exceptionally challenging. If you’re familiar with Depulso and puzzle mechanics, you should be able to solve it with some patience.
What if I don’t have Alohomora yet?
If you haven’t completed the main quest “The Caretaker’s Lunar Lament,” you won’t be able to unlock the Level 1 Lock on the door leading to the hidden room. Focus on progressing through the story to acquire Alohomora first.
Is there a reward for completing Depulso Puzzle Room 2?
Yes! The main reward is the Collection Chest containing a random Conjuration collectible. Additionally, you might find some interesting items in the regular chests scattered throughout the room.
Can I replay Depulso Puzzle Room 2?
Absolutely! Once you solve the puzzle and exit the room, it will reset. You can revisit it any time and challenge yourself again, or simply grab any remaining chests you might have missed.
To read more, Click here