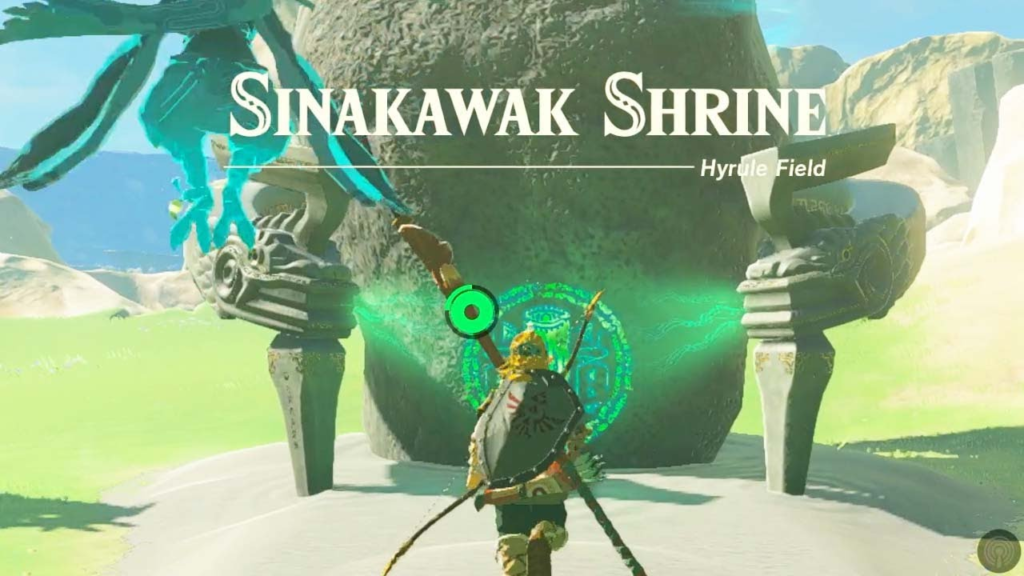
Sinakawak Shrine – The sprawling landscapes of Hyrule in “The Legend of Zelda: Tears of the Kingdom” are filled with secrets waiting to be uncovered. Among them are the hidden Shrines, testing Link’s skills and rewarding him with valuable items. The Sinakawak Shrine, nestled in the Central Hyrule Region, presents a unique challenge centred around the innovative use of hot air balloons. This guide will equip you with all the knowledge you need to navigate this aerial adventure and claim the treasures within.
Locating the Sinakawak Shrine
The Sinakawak Shrine can be found southeast of Lindor’s Brow Skyview Tower and northeast of Lookout Landing in the Central Hyrule Region. If you’re looking for a landmark, keep an eye out for the New Serenne Stable. The Shrine sits conveniently nearby, acting as the warp point for the stable itself.
Gearing Up for the Ascent
There’s no specific equipment required to tackle the Sinakawak Shrine. However, having a strong understanding of the environment and the physics of the balloons is crucial for success. Here are some helpful tips to remember:
- Understanding Buoyancy: The key mechanic in this Shrine revolves around hot air balloons. As with real-life hot air balloons, the weight of the attached objects determines how high they can ascend. Heavier objects will require more balloons or stronger heat sources.
- Light Your Way: Candles and fire geysers act as your heat sources in the Shrine. Use them strategically to inflate the balloons and propel yourself and objects to higher platforms.
- Eye on the Prize: Keep an eye out for strategically placed platforms, switches, and small orbs that play a role in solving the Shrine’s puzzles.
A Step-by-Step Guide to Conquering the Sinakawak Shrine
The Sinakawak Shrine’s puzzles primarily involve maneuvering platforms and reaching high points using hot air balloons. Here’s a detailed breakdown of the steps to conquer this aerial challenge:
- Entering the Shrine: Upon entering the Shrine, you’ll find yourself in a room with stairs leading up to a larger chamber. Climb the stairs and prepare for your aerial journey.
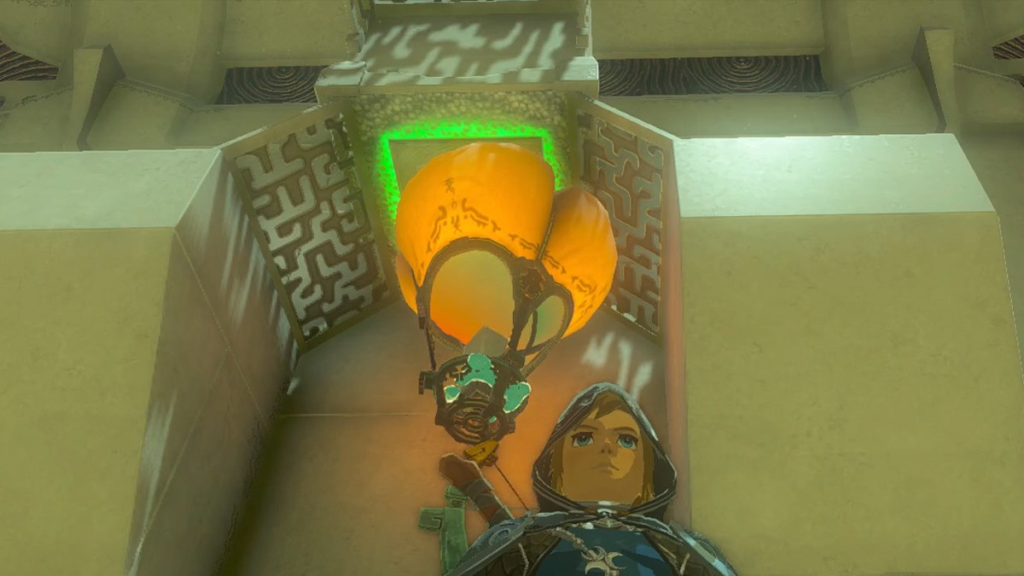
- First Steps, First Flights: The main room presents you with your first challenge. You’ll find wooden planks, balloons, and candles scattered around. Here’s what you need to do:
- Grab a wooden plank and lay it flat on the ground.
- Attach a balloon to the center of the plank.
- Light a candle and carefully place it inside the balloon.
- Stand on the wooden platform and hold onto the balloon contraption.
- The heat from the candle will cause the balloon to rise, carrying you upwards. Aim for the ledge above but make sure you don’t go too high that you can’t grab the balloon when you reach the top.
- Once you reach the ledge, detach the balloon and activate the switch located there. This will unlock the gate leading to the next section.
- Ascending to New Heights: In the next area, you’ll encounter a large metallic orb and another platform puzzle. Here are the steps to solve it:
- Repeat the process from the previous room: grab a wooden plank, attach a balloon, and light a candle inside.
- This time, you’ll need to use the balloon to not only lift yourself but also the large orb attached to the platform. Utilize the fire geysers strategically to provide additional lift for the heavier orb.
- Ascend high enough to detach the small orb from the wooden platform and push it towards the small orb-shaped hole on the platform. Watch it fall through the hole, which will unlock the gate to the exit.
- Reaching the Summit: Before exiting the Shrine, there’s a treasure chest to claim. Here’s how to get it:
- Jump down from the platform and grab the large orb on the other side.
- Use the same balloon technique to ascend back up to the platform.
- Place the large orb in the large orb-shaped hole. This will reveal the treasure chest containing valuable loot.
- Claiming Your Reward: Congratulations, you’ve conquered the Sinakawak Shrine! Open the treasure chest to claim your reward, which typically consists of weapons, shields, or bows that will aid you on your journey across Hyrule.
FAQs
Q: Where is the Sinakawak Shrine located?
- A: The Sinakawak Shrine is found in Central Hyrule, northeast of the Hyrule Ridge area and to the right of New Serenne Stable. You can find its exact coordinates as -1413, 0757, and 0089 on your map.
Q: What kind of puzzles does the Sinakawak Shrine have?
- A: This shrine features puzzles centred around creating hot air balloons using balloons, fire sources, and wind manipulation. You’ll need to use your wit and understanding of physics to solve these environmental puzzles.
Q: How do I solve the Sinakawak Shrine puzzles?
- A: The core concept is to use fire sources (candles, fire geysers) to inflate balloons and then utilize wind gusts or strategically placed platforms to reach higher areas. There are multiple solutions, so don’t be afraid to experiment!
Q: Is there a walkthrough available for the Sinakawak Shrine?
- A: Yes! Many resources online offer detailed walkthroughs for the Sinakawak Shrine. You can find video guides on YouTube or text-based walkthroughs with screenshots for visual reference.
Q: Where is the treasure chest in the Sinakawak Shrine?
- A: The treasure chest is hidden in the second main room of the shrine. Look for a small alcove on the left-hand side as you jump down. You’ll need to use balloons and fire to reach this area.
Q: Can I replay the Sinakawak Shrine after completing it?
- A: Yes! Once you’ve finished the shrine, you can revisit it anytime to test your skills or try out different solutions to the puzzles.
Q: What if I get stuck in the Sinakawak Shrine?
- A: Don’t worry! Don’t hesitate to consult those online walkthroughs we mentioned earlier. There’s no penalty for taking your time or seeking help.
By understanding these FAQs and utilizing the available resources, you’ll be well on your way to conquering the Sinakawak Shrine and claiming your well-deserved reward!
To read more, Click here